X Tutorial: Edius
Before you start, ensure your computer meets the system requirements for Edius X. These include:
To install Edius X:
Why this is better: The Source Browser validates codecs. If a file is corrupted, EDIUS tells you before you crash 20 minutes into an edit.
The Layouter is the most important tool in EDIUS. It combines scaling, cropping, positioning, and keyframing into one window.
How to use it:
Common Tasks:
Note: Unlike Premiere’s "Motion" effect, Layouter is non-destructive and hardware accelerated.
EDIUS X excels where speed and format flexibility matter most—live events, news, multicam productions, and long-form documentaries. Its learning curve is shallow for basic cuts but rewards deep study of the Layouter, proxy workflow, and GPU effects. For an editor switching from Premiere or Vegas, expect to cut editing time by 30–50% once muscle memory shifts from rendering to real-time playback.
Final advice: Do not render as you edit. Trust the real-time engine. Only render final export. That is EDIUS’s superpower.
To put together text and create titles in EDIUS X, you primarily use the built-in QuickTitler tool. This tool allows you to create everything from simple static text to animated lower thirds and scrolling credits. 1. Accessing QuickTitler There are a few ways to open the titling tool:
Bin Menu: Click the 'T' icon or the down arrow next to it in the Bin window to create a new title.
Timeline: Right-click on an empty space in a Title Track (e.g., 1T) and select New Clip > QuickTitler. edius x tutorial
Tip: It is recommended to use Overwrite Mode before doing this to prevent a gap from being created in your timeline. 2. Adding and Formatting Text Once the QuickTitler window opens:
Typing: Click anywhere in the window to see a floating cursor and begin typing your text.
Properties: Use the Text Properties panel on the right to adjust:
Font and Size: Choose your typeface and manually type in a size (e.g., 120 or 200) if the preset dropdown is too small.
Alignment: Use the layout options to center text horizontally or vertically.
Styling: Add shadows (adjusting soft width, angle, and distance) or outlines to make the text stand out against busy backgrounds. 3. Saving and Managing Titles
Save as ETL2: When saving your title, select the .ETL2 file format. This prevents scaling issues if you move your project between computers with different screen resolutions or Windows display scaling settings.
Automatic Effects: When you save and exit (by clicking the diskette icon), EDIUS automatically adds a fade-in and fade-out effect to the title on your timeline.
Organization: Create a dedicated "Titles" folder in your Project Bin to keep all your text clips organized. 4. Advanced Text Options
Subtitles: For multiple lines of text, you can use VizTitle Express (included with EDIUS) to create templates where text automatically reflows into two lines.
Animation: You can use the Layouter tool or Mask effects on a title clip to create custom animations, such as sliding text or text behind moving objects. Before you start, ensure your computer meets the
For a visual walkthrough of adding and styling basic titles: 07:22 EDIUS 8 Basic Tutorial: Adding a Title YouTube• Feb 23, 2017 Making animated titles in EDIUS Quick Titler
EDIUS X is a professional, non-linear video editing software known for its high speed, stability, and broad format support, often used in news broadcasting and post-production
. This beginner-friendly overview covers the essential steps for starting your first project. 1. Project Setup and Interface
Before you begin, you must configure your project settings, which define the resolution and frame rate for your entire edit. The Interface
: Familiarize yourself with the layout, which typically includes the (for organizing clips), the Player/Recorder windows, and the Optimization : For smooth performance, ensure your system meets the minimum requirements
and consider disabling aggressive anti-virus software that might interfere with file processing. 2. Importing and Organizing Media EDIUS uses a Source Browser
to bring in footage from various card-based formats like AVCHD. Adding Clips
: Once imported, drag your clips from the Bin onto the timeline. Organization
: Use folders within the Bin to keep your raw footage, audio, and graphics separate. 3. The Editing Process The core of your work happens on the timeline:
: Refine your clips by adjusting their start and end points directly on the timeline to ensure a smooth flow. Layouter Tool : One of EDIUS X's most powerful features is the , which allows you to control rotation, zoom, position ( ), and even perform motion tracking on individual clips. Applying Effects : To add visual flair, you can right-click folders in the Effect Palette
to import presets or drag-and-drop built-in transitions and filters onto your clips. 4. Audio and Final Export Sound Levels To install Edius X: Why this is better:
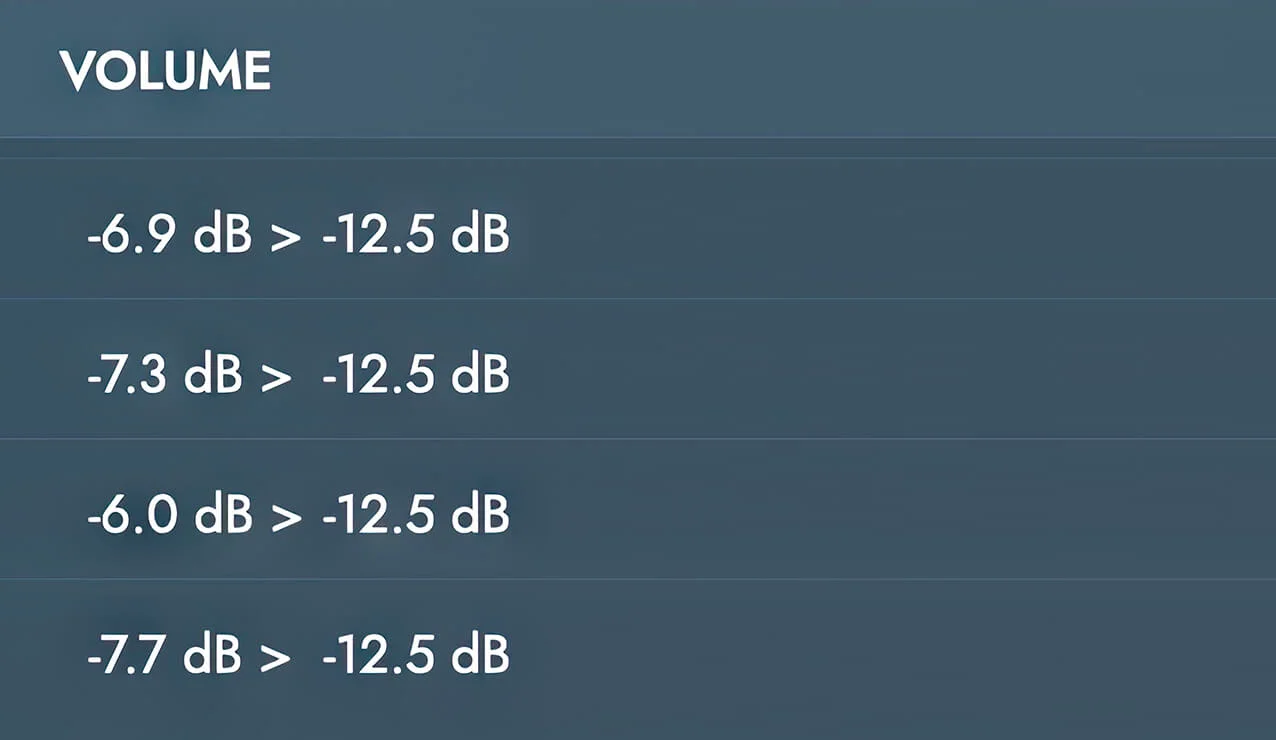
: Adjust individual clip volumes on the timeline to ensure clear audio without clipping.
: Grass Valley EDIUS users are encouraged to save frequently to protect their progress.
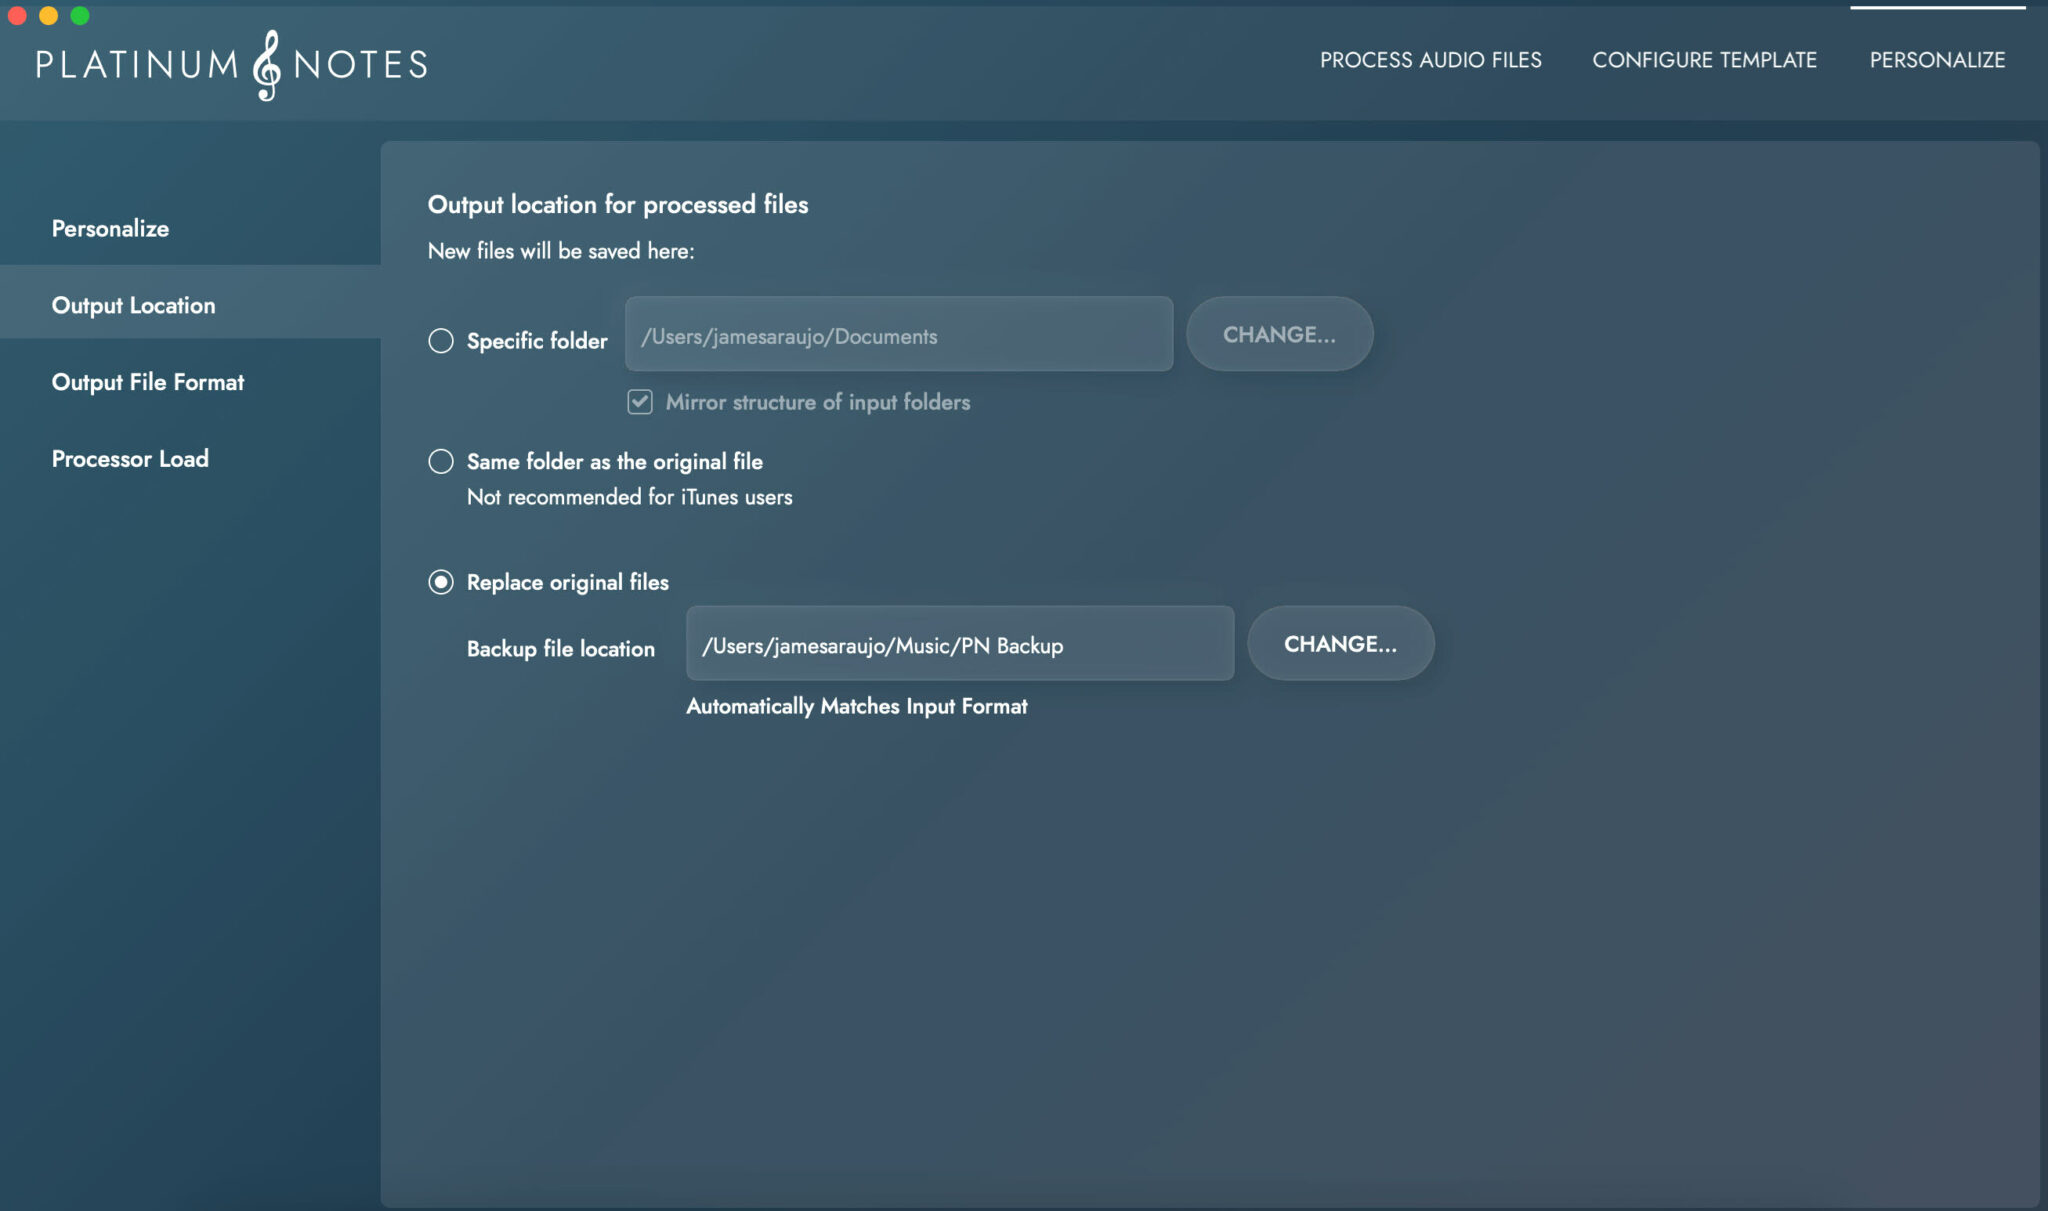
: Once your edit is complete, use the export function to create files for YouTube, Blu-ray, or DVD. If you need to convert projects between regions (e.g., PAL to NTSC), you can export the file and place it in a new project with the desired regional settings. Training Resources
For those seeking deeper knowledge, several comprehensive guides are available: DVC Training
: Offers an extensive 36-hour tutorial disc covering everything from basic setup to advanced techniques for both and the newer EDIUS 11. EDIUSWorld
: Provides official manuals and technical documentation for feature-specific lookups like effect importation. export settings for a particular platform? Make a US DVD from a PAL project with EDIUS - DVC Training
To prepare a tutorial feature for , it is best to structure the content around its core strengths: real-time performance background rendering , and its flexible DVC Training Core EDIUS X Tutorial Modules A comprehensive feature should cover these primary areas: Setup & Activation Explain the mandatory registration for license activation. Highlight system requirements, specifically AVX2 support (Intel 4th Gen or newer) and the need for Windows 10/11 Workflow Essentials Source Browser
: Demonstrate how to use the Source Browser for "add and transfer to bin" functions, which allows background copying of card-based media so you can start editing immediately. Background Rendering
: Showcase how to monitor background export and rendering tasks via the GV Job Monitor Advanced Features Layouter & Motion Tracking
: Tutorialize the new anchor and chase modes for motion tracking within the Layouter. Audio Channel Mapping : Detail how to set up the Channel Map
to ensure specific timeline tracks output correctly for archiving (up to 16 channels). Bonus Content Integration Include modules for bundled third-party plugins like Acon Digital (audio restoration), proDAD VitaScene V4 (transitions), and NewBlue Titler Pro 7 www.dvctraining.co.uk Recommended Learning Path
Using the channel map feature in EDIUS 7 to output audio for archiving